Applying for:
- Solder Soldier
- Savvy
- I fixed it!
- Leave no one behind badge to ModernFamily by Babyshark Ultd
TL:DR: Wires everywhere, de-solder, re-solder, screwing up, de-solder, re-solder, no wires visible
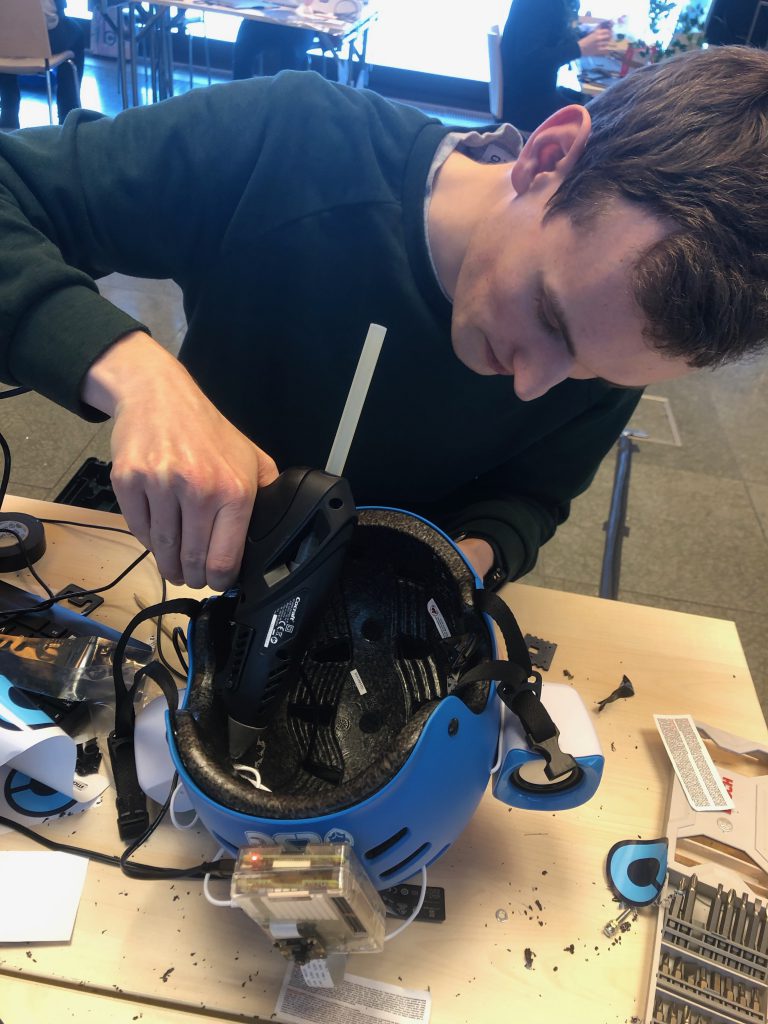
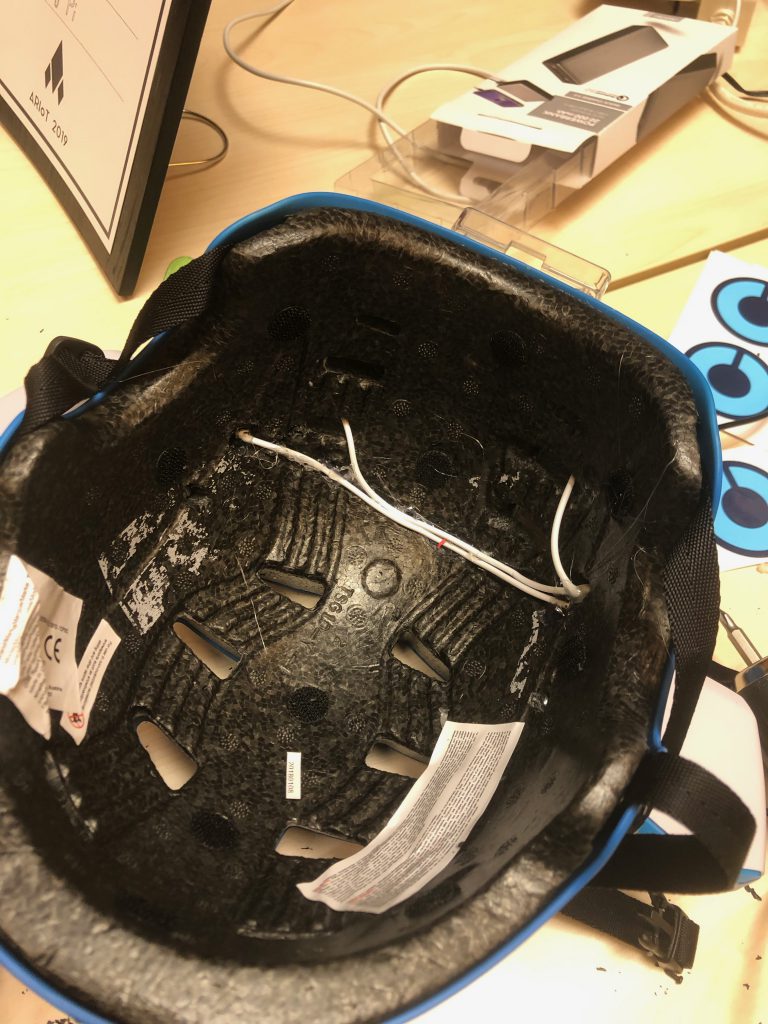
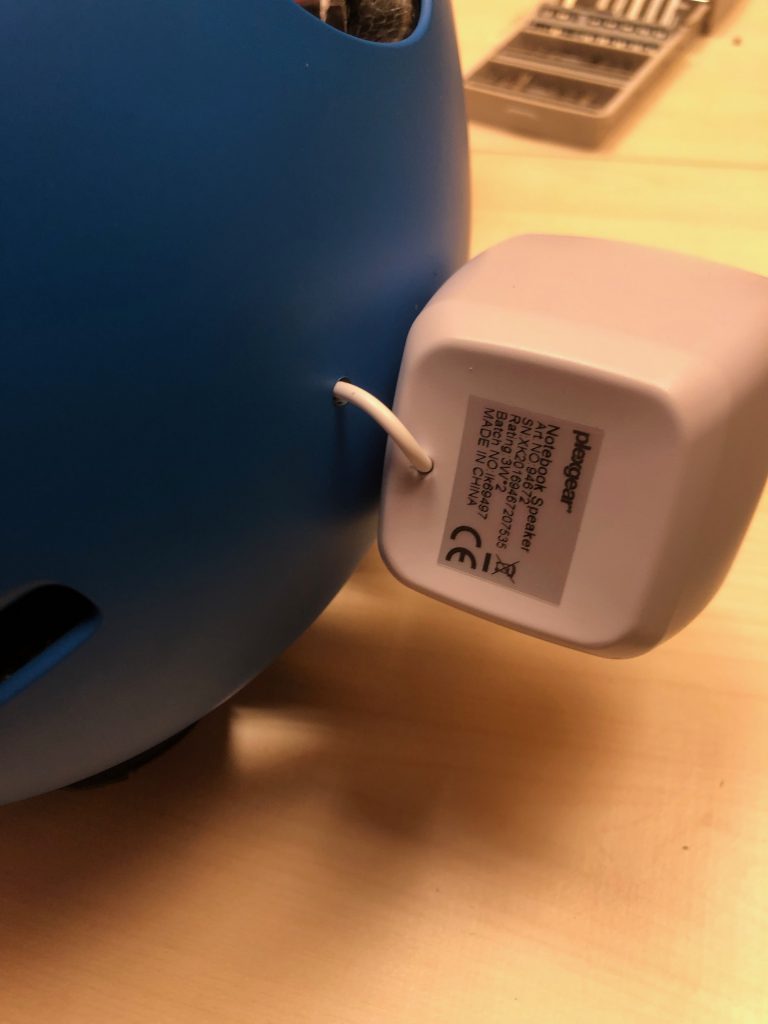
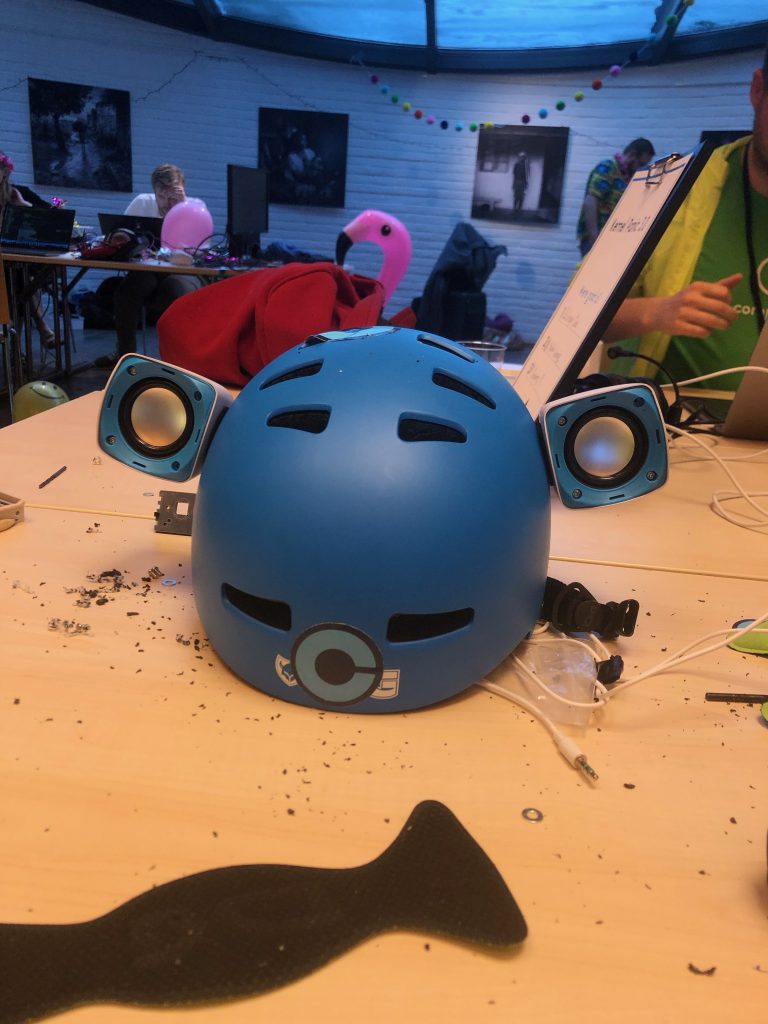
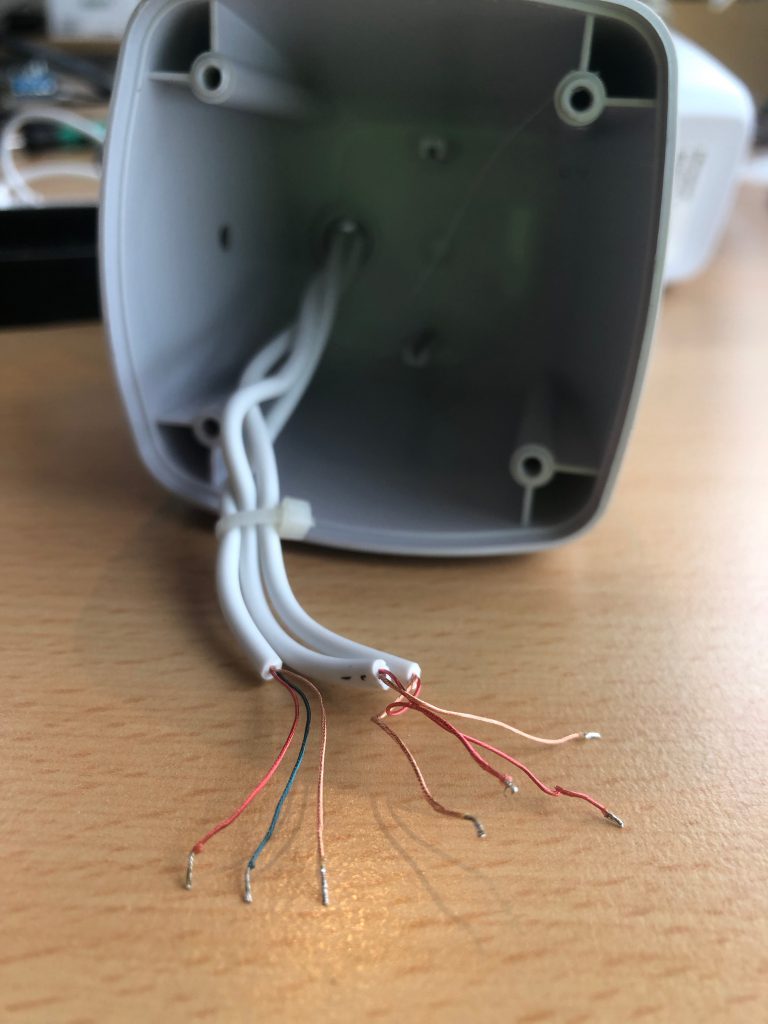
With the speakers mounted on the helmet came time to fix the cable management. Given how cheep the speakers were, it is astonishing how much cable they came with.
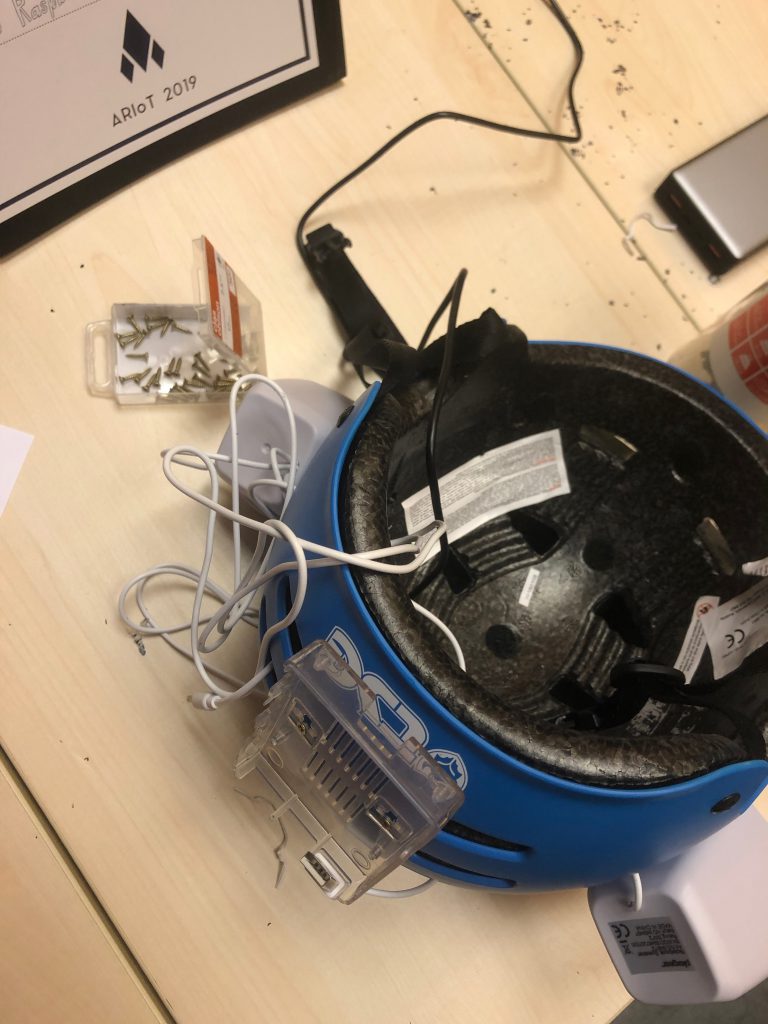
- The easiest solution: Run the cables along the outside of the helmet
- The best solution: Run the cables inside the helmet. This requires the wires to be de-soldered, run through the helmet and then re-soldered on.
We choose the second solution of course.
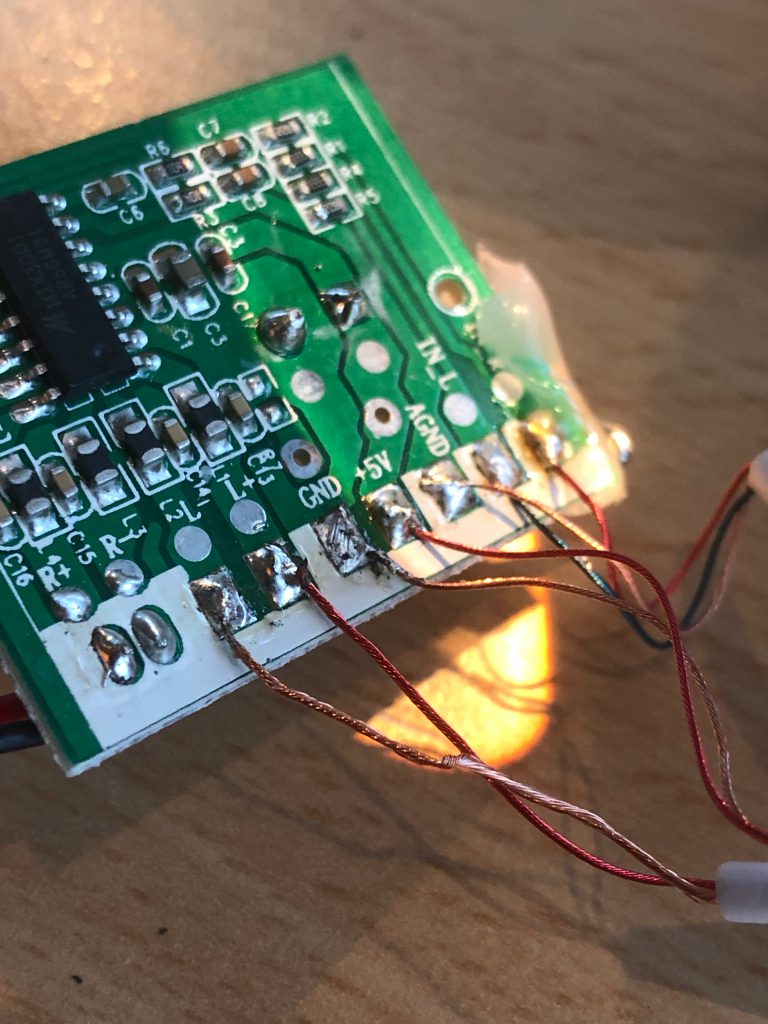

Mistakes were made!

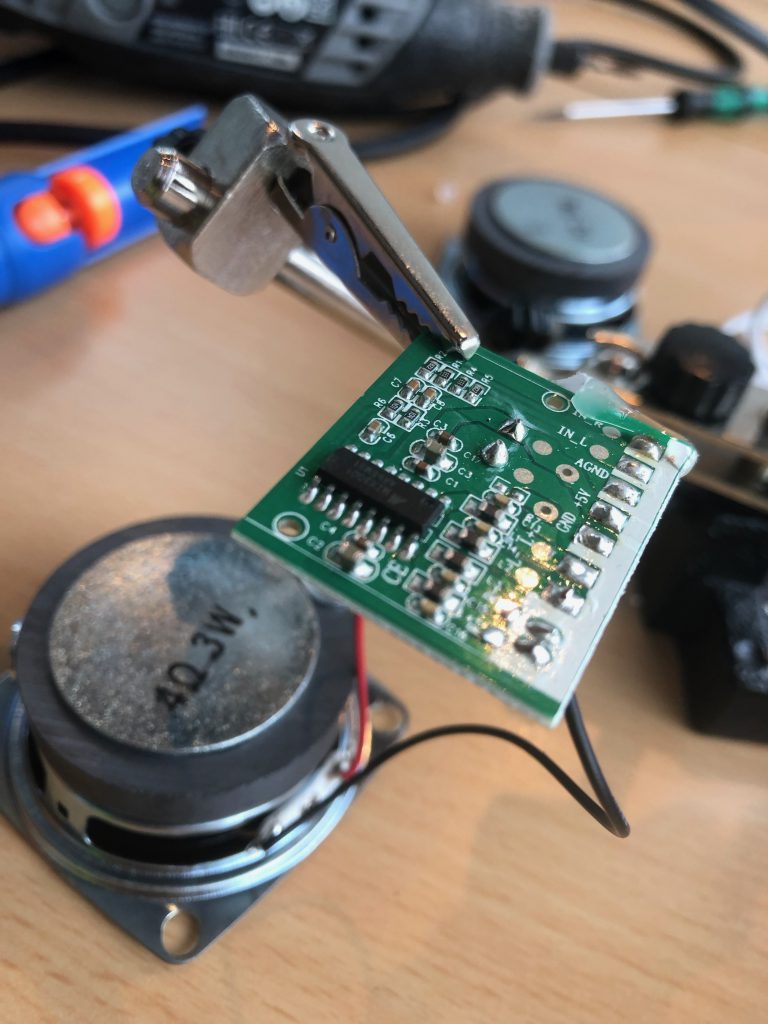
Remember when I said the wires that go to the other speaker and the wires for the USB-power looked identical? Guess who managed to mix the two when first soldering the wires together? When turned on, the speakers made a periodic clicking sound and the motherboard turned quite hot…. Oops!
Luckily de-soldering and re-soldering the wires again correctly fixed the issue and no permanent damage was done. Phew!
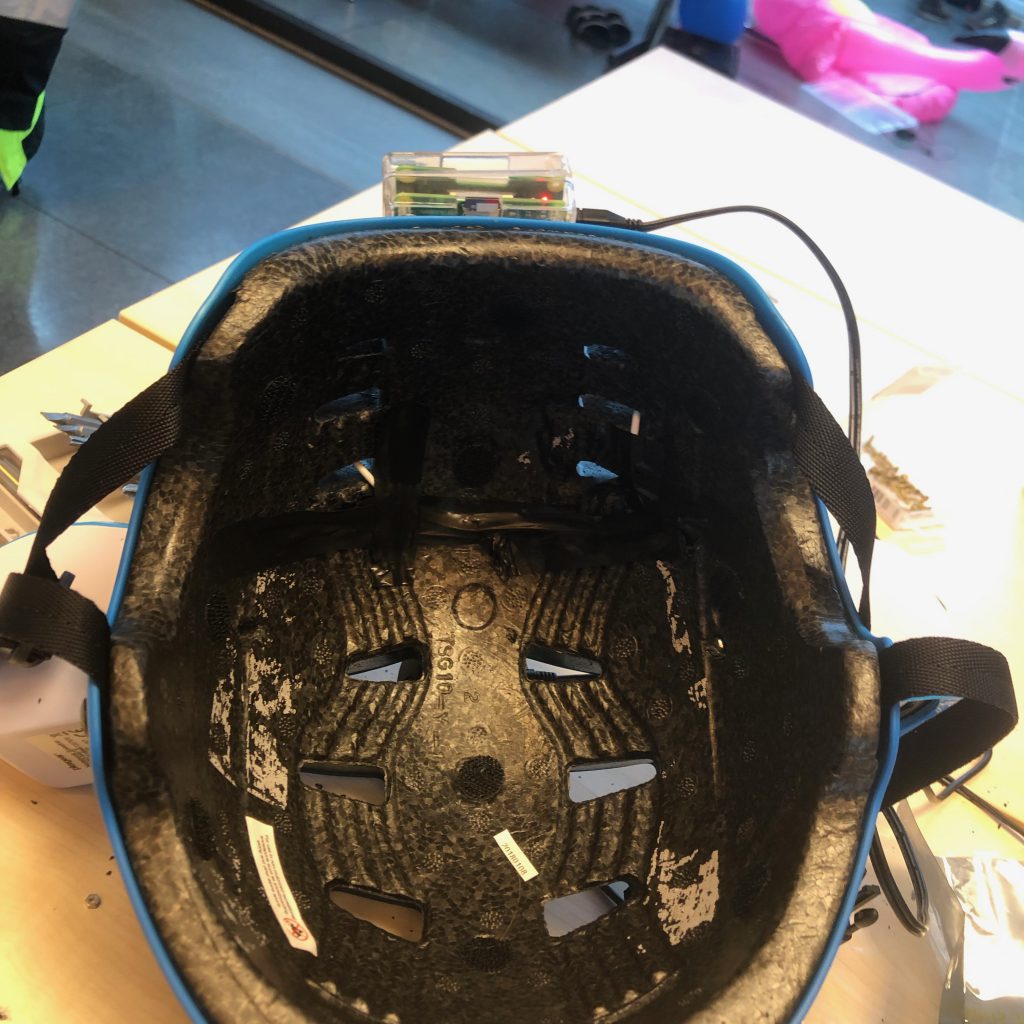
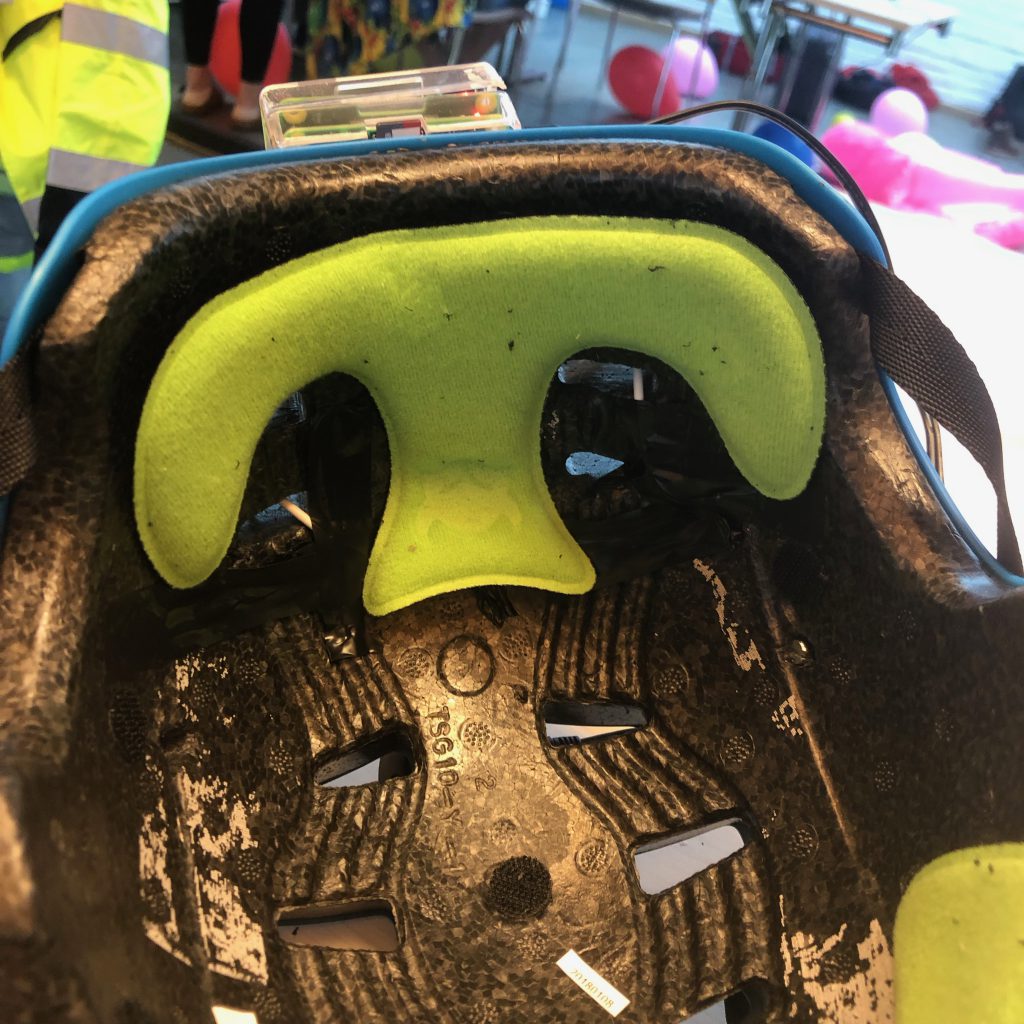
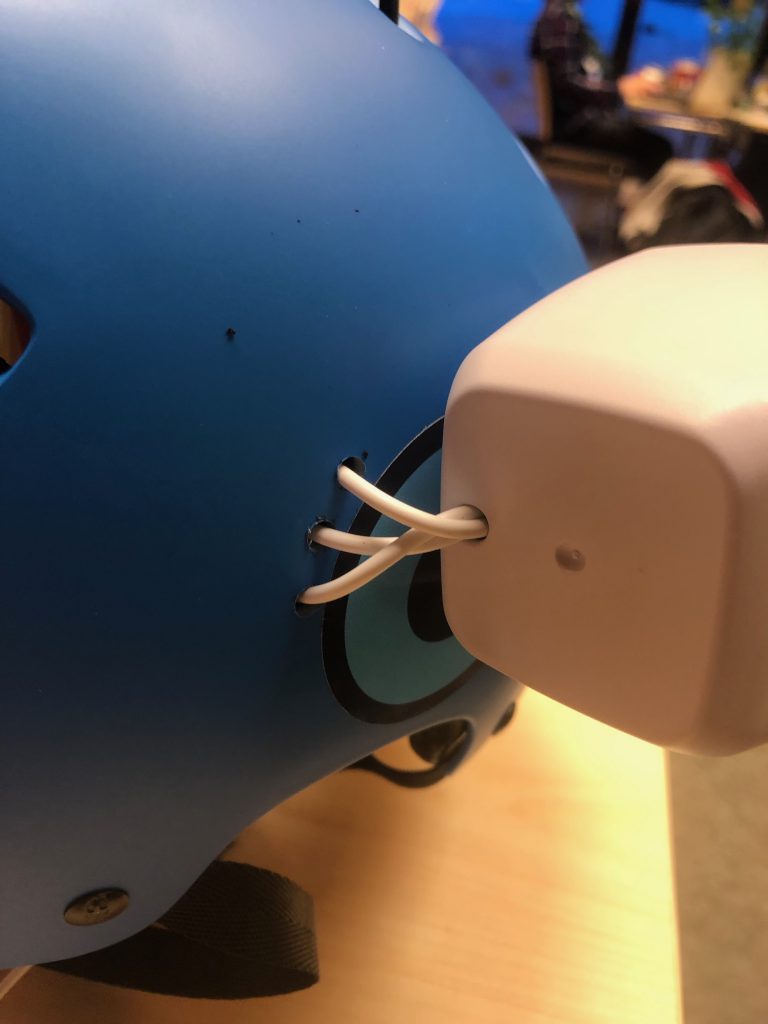
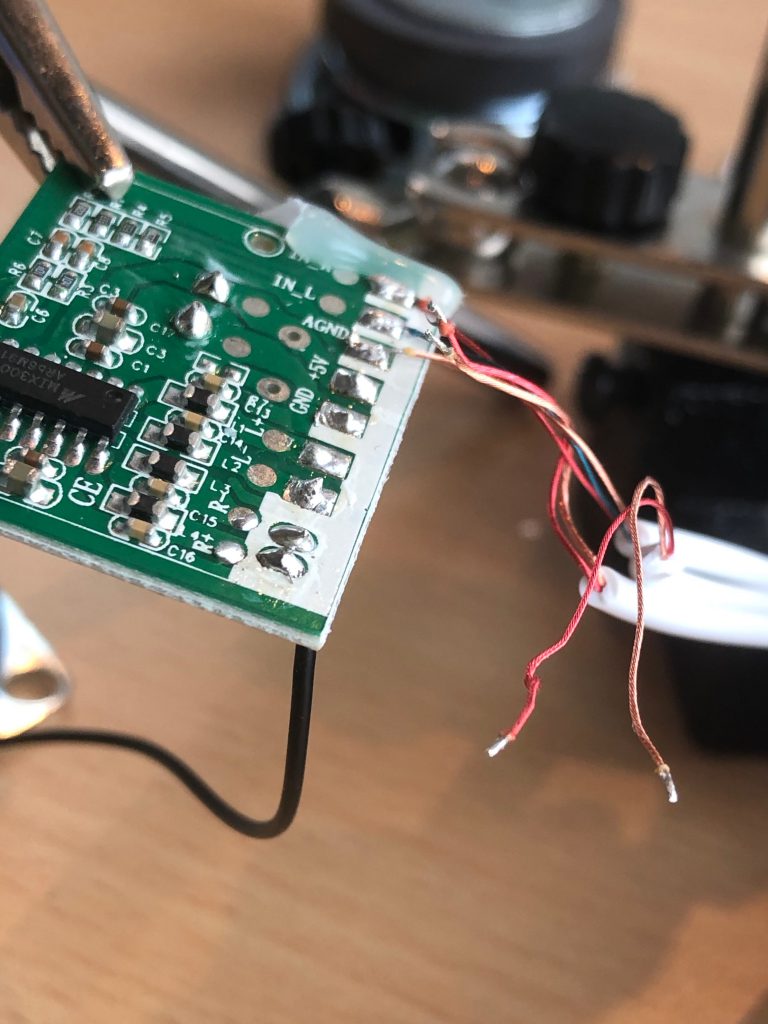
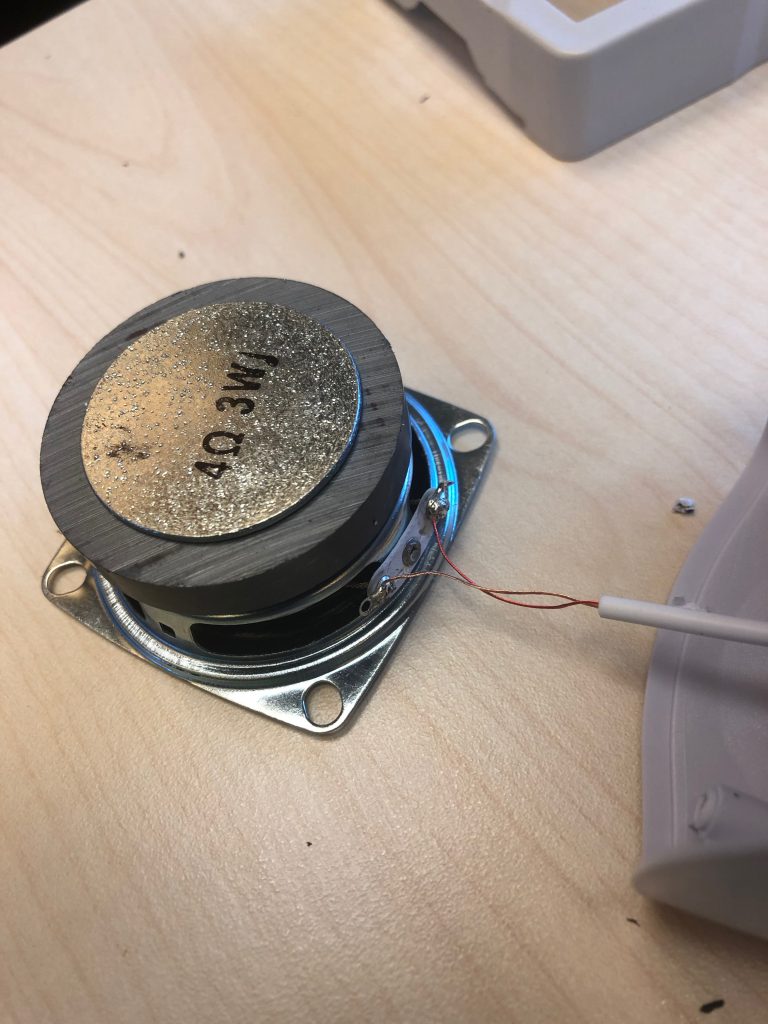
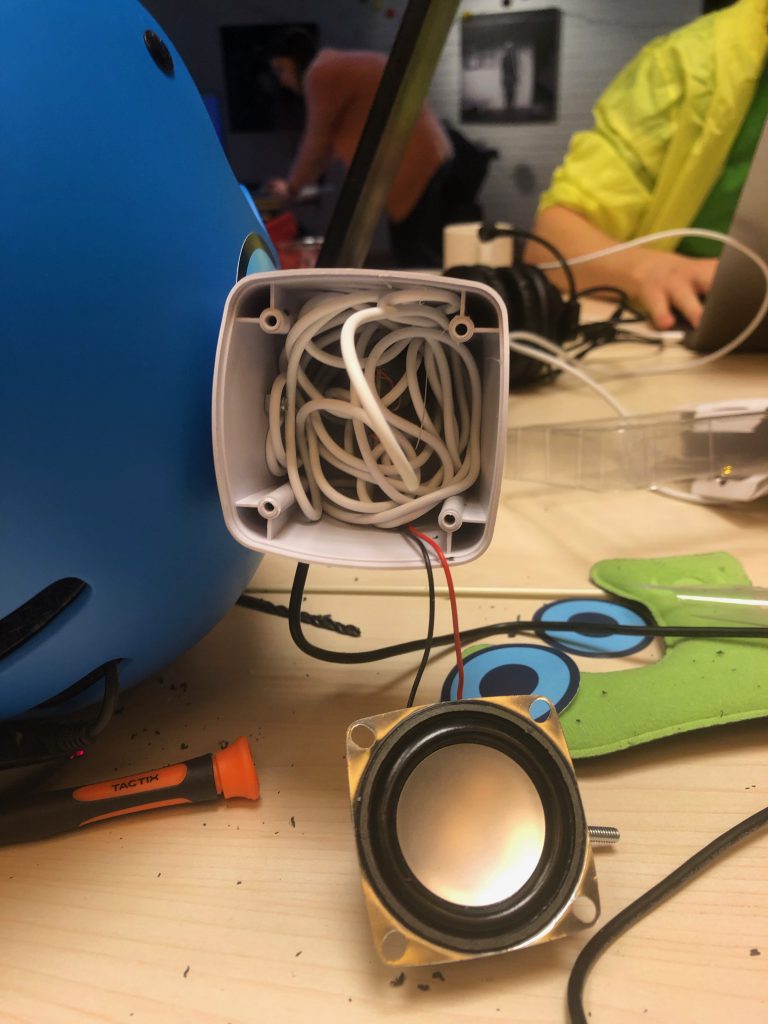
Dirty hack: Excess cables
With everything soldered back together and finally working came the time to clean up and hide the excess cables. Kjell & Company was gracious with the amount of cable provided with the 79 kr speaker set.

Once again, we had two possible solutions to the problem:
The best solution: Properly cut the cables to the right length and solder them back together.- The
easiestsolution: Utilize the empty space within the speakers to hide the excess cables.
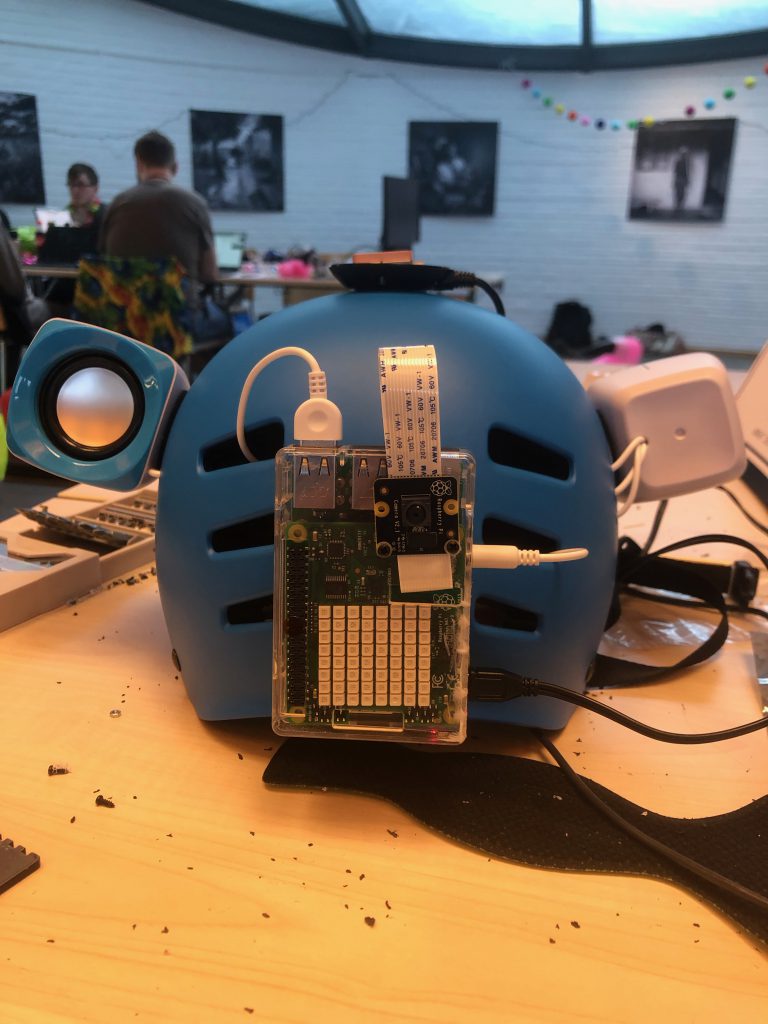
Cable management time (with support from ModernFamily by Babyshark Ultd )
The cable management would definelty not have turned out so well if it had not been for the help of ModernFamily by Babyshark Ultd.
We first tried to dig out grooves for the cables in the padding on the inside of the helmet with a regular drill, but that failed miserably. Luckily for us, ModernFamily by Babyshark Ultd brought a Dremel we could borrow. Thanks!

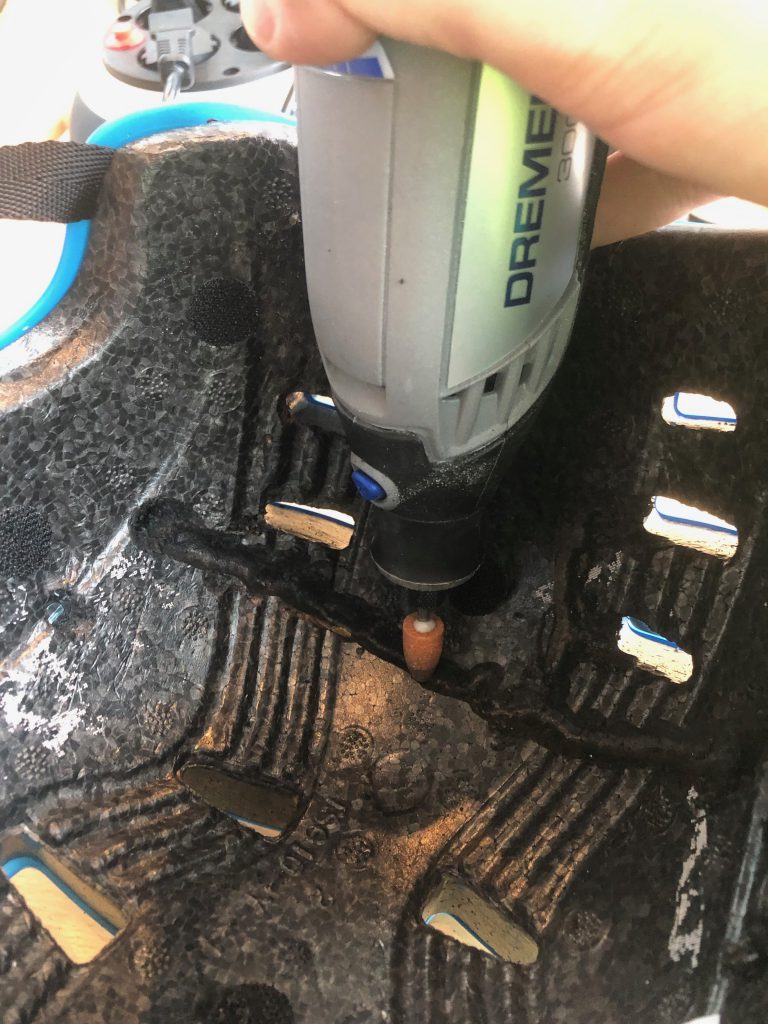
The second tools we borrowed from ModernFamily by Babyshark Ultd was a hot glue gun to secure the cables within the grooves. Once again, thanks!